Meet & Greet

Greetings from Northeast Ohio!  I have finally put everyone to bed and will be heading down to my craft room to see if the cleaning fairy made her way to my house.  Something tells me I will be getting ready for tomorrow's event  into the wee hours - LOL


I won't be able to join everyone until after dinner but I am looking forward to the time I can spend.  I hope everyone has a fabulous day!

Thanks for stopping by ~
Rebecca

colourQ challenge #145...


Happy Sunday everyone!  Just of few quick minutes to post the ColourQ challenge card I made.  I love the colors this week.  All I could think was sunflowers when I saw it.


 I started with a white card base that I antiqued with tea dye duos.  Then I ran the craft card stock through my cuttlebug with an inked up wood grain impression plate.  I was very happy with the effect.


The sunflowers took some double stamping.  I tried to use light and dark ink separately but the light barely showed up.  I opted to stamp the dark on top of the light and was pleased with the outcome.


 The frame was made from a chocolate chip card stock and backed with a rustic cream.  I saw the twine idea on Nicole Heady's blog this week and knew I would have to case it.


The butterfly was cut from a die out of patterned paper.  I like the little punch of eucalyptus that it brings to the card.  It pulls the sentiment to the eye.


Thanks for stopping by ~
Rebecca

CAS-ual Friday Let's Strip

Well, our company has left us :(  We had a wonderful visit and wish it didn't have to come to an end.  I did manage to squeeze in a bit of stamping.  I made some cards to send back with my MIL.  One of them fits perfect for this weeks CAS-ual Friday challenge.


It's no secret that I am a scrap hoarder so this project was right up my alley.  I dug through my basket and found the colors of the rainbow popping out at me.  The clouds seemed perfect for the sentiment.


For the inside I created a cloud with a silver lining.  I used the smaller die to cut out a piece of silver embossing sheet.  Then I used the same die to cut out center of the large cloud.  I was pretty happy with the way it turned out.


Thanks for stopping by ~
Rebecca

A Heartfelt Thanks

I know I have been absent in blog land but we have been very busy with life throwing us some unexpected curve balls.  About five weeks ago my husband wasn't feeling so well and went to the doctor.  Long story short, within 36 hrs he had quintuple bypass surgery!  Talk about a shock.  He is doing great.  We are moving forward with his recovery and believe he will feel better than ever once his rehab is complete.

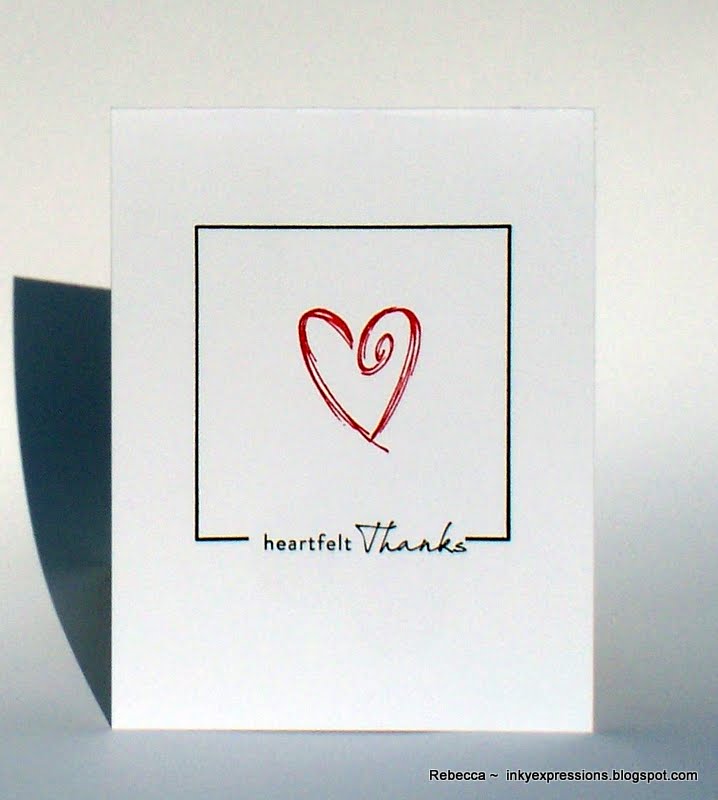
Once I found a little time, I decided to make some Thank You cards for the amazing Dr., surgical team, and nurses that cared for him.  The pic aren't great but the cards turned out cute.


I used Waltzingmouse Frame It paired with the heart from SU Sketch an Event. On the inside I used PTI's Movers and Shakers Poppers die.


I know this was a quick post but I had to squeeze it in before heading to a softball tourney.

Thanks for stopping by ~
Rebecca

CPS 267

School is out - Yeah!!  I have been looking forward to summer for a while now and today was the last day.  This also means a ton of graduation parties to attend.  I decided to play along with the CPS 267 Sketch and make some cards for all those kids heading off to college.


I made the card using our school colors.  The graduation cap came from a retired Stampin' Up set Sketch an Event.  It has always been one of my favorite sets.


I shortened up the background from the original sketch so I could add the encouraging sentiment from PTI's Simply You set.


As part of my gift, I decided to make a box set of Thank You cards.  In doing so, I found my new favorite stamp set ... Waltzingmouse Frame-It.  I will be putting this on the top of my next order.


I love these cards.  They are CAS and were easy to mass produce.

Thanks for stopping by ~
Rebecca

April Blog Hop


When I saw this photo, I thought the colors and patterns would be perfect for Mother's Day cards.


The background is Damask Designs that I embossed with a clear sparkle embossing powder.  The Roses are a retired SU set that I love.  It is all two step stamping which is perfect for adding depth when you aren't very good at coloring!


The polka dot "ribbon" is actually a seam binding that I created.  First, I used my Tap-n-Rol tool to add some of the teal color and then  I stamped the polka dot pattern.  The best part is I got the whole roll below for .99 cents at the junk (oops, I mean hidden treasure) store!


The next card is also for Mother's Day, just not for my mom.

I used painters tape to mask the sentiment location. After removing it, I scored the edge of the mask line.
This card was quick to make and I love the way it turned out.
Well, now I am off to put my feet up and do some blog hopping!
Thanks for stopping by ~
Rebecca

Happy Easter

This past week was Spring Break and boy did it fly by.  I hope everyone had a joyous celebration. I can't believe it is already April.  We'll be out of school and lounging by the pool in no time. 

Today I have some Easter projects to share.  First up are some chocolate covered Peep bunnies that Sophie made for the treat bags.  This was a fun activity and the kids all loved them.


It's easy to do.  Just put the peeps on a stick, coat with melted white chocolate, and add the confetti eyes and nose.  It did take a while to separate the confetti.  Thank goodness for small hands!  

On to the treat bags.
Last is a basket I made.  I saw the pattern and decided to give it a try.  I had visions of making one for each of the kids but ran out of time (hence the above Easter bags :).


I decorated each side a little differently.  The basket was sturdy and a good size.  I used a 9x9 piece of card stock.


Thanks for stopping by ~
Rebecca
  Supplies

Related Posts Plugin for WordPress, Blogger...